Mastering the Art of Layered Shadow Box Halloween Decor
There is a specific kind of magic that happens when light filters through multiple layers of paper, transforming a flat design into a three-dimensional scene. This is the core appeal of a Layered Shadow Box Halloween project. Unlike traditional cutouts that sit flush against a wall, these designs utilize depth to create atmosphere, turning a simple silhouette of a haunted house or a whimsical ghost into an immersive vignette. For creators, hobbyists, and small business owners looking to add unique flair to their autumn decor, understanding the nuances of this craft is essential. However, diving into this trend without a clear plan often leads to frustration, wasted materials, and finished products that lack the intended impact.
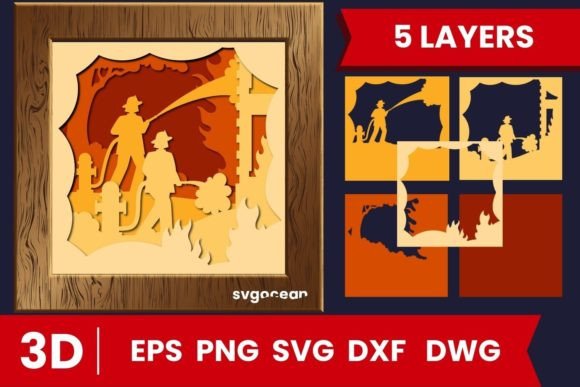
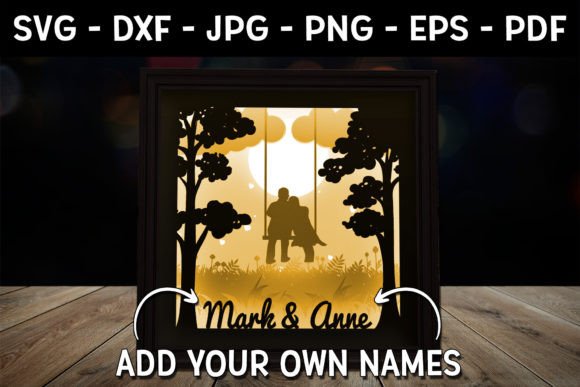
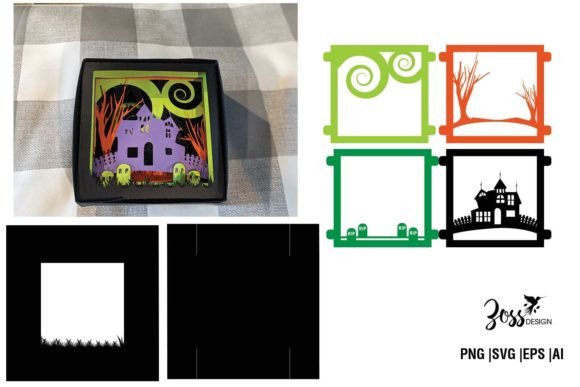
The concept is straightforward: you stack several layers of material, usually cardstock or vinyl, separated by spacers to create distance between them. When backlit or viewed from an angle, the shadows cast by each layer produce a striking 3D effect. The files provided for these projects typically come in PNG, SVG, and EPS formats, catering to both digital crafters using cutting machines and those who prefer hand-cutting. Yet, the availability of these files does not guarantee a successful outcome. Many enthusiasts overlook critical details regarding material selection, spacing, and assembly, resulting in a project that looks muddy rather than magical.
Avoiding the Pitfalls of Material Selection
One of the most common mistakes beginners make is assuming that any paper will work for a layered design. In reality, the weight and texture of your material dictate the success of the shadow effect. Using standard printer paper, for instance, often results in layers that curl, warp, or fail to hold their shape against the spacer foam. Conversely, choosing cardstock that is too thick can make it nearly impossible to achieve clean cuts on intricate details, especially in complex haunted house designs with tiny windows or spiderwebs.
To avoid this, aim for cardstock in the range of 65 to 80 pounds. This weight provides enough rigidity to stand up to the spacing elements while remaining flexible enough for detailed cutting. If you are using a digital cutter like a Cricut or Silhouette, always perform a test cut on a scrap piece of your chosen material. Furthermore, consider the opacity of your paper. If you intend to backlight your shadow box, translucent vellum or specialized light-diffusing paper works best for the inner layers, while opaque cardstock is ideal for the foreground elements to create strong, defined silhouettes. Ignoring this distinction can lead to a design where the light bleeds through everything, washing out the contrast and destroying the depth illusion.
The Critical Role of Spacing and Depth
Perhaps the most overlooked aspect of creating a Layered Shadow Box Halloween display is the spacing between layers. It is tempting to use uniform spacers for every gap to simplify the assembly process, but this approach often flattens the visual experience. A compelling scene requires varied depths to guide the viewer's eye. The background should sit furthest away, with middle-ground elements slightly closer, and the foreground details nearest to the viewer.
When spacers are too thin, the shadows do not have enough room to develop, making the layers look like a single, confused mass. When they are too thick without proper structural support, the box becomes unwieldy and prone to collapsing. A better approach is to use foam tape of varying thicknesses. For example, use double-layered foam tape for the gap between the background sky and the haunted house structure, but switch to single-layer tape for the details on the roof or the fence in the front. This subtle variation mimics natural perspective. Additionally, ensure your frame is deep enough to accommodate the total stack height plus a little extra room for the glass or acrylic front; miscalculating this can result in a cracked front pane or a lid that won't close.
Navigating File Formats and Design Complexity
Before purchasing or downloading a design, it is vital to understand the file formats included: PNG, SVG, and EPS. Each serves a different purpose, and using the wrong one can complicate your workflow. SVG and EPS files are vector-based, meaning they can be scaled infinitely without losing quality. These are essential if you plan to resize the haunted house to fit a specific frame or if you need to separate individual layers for custom coloring. PNG files, on the other hand, are raster images. While useful for previewing the design or using in digital mockups, they cannot be easily separated into cuttable layers for crafting machines unless the creator has provided individual PNGs for each layer.
A frequent error occurs when crafters download a bundle expecting ready-to-cut layers but receive a single composite image. Always check the product description to confirm that the SVG or EPS file contains grouped or separated layers corresponding to the physical depth of the project. If the layers are merged, you will spend hours manually tracing and separating elements in your design software, a tedious process that often introduces errors in alignment. For entrepreneurs selling these designs, providing clearly labeled layers within the SVG file is a mark of professionalism that saves the customer time and ensures a higher satisfaction rate.
Assembly Techniques for a Polished Finish
Even with perfect materials and files, poor assembly can ruin the final presentation. Rushing the gluing process is a typical culprit. When adhering layers, excess glue can seep out from under the spacers, creating visible blobs that distract from the clean lines of the design. Hot glue guns are popular for their speed, but they can be messy and may melt thinner papers. A more controlled approach involves using precision adhesive dots or applying liquid glue sparingly with a fine-tip applicator.
Alignment is another area where patience pays off. Before committing to permanent adhesion, dry-fit all your layers inside the frame. Check the alignment from multiple angles to ensure no layer is skewed. A slightly crooked middle layer can throw off the entire perspective of the haunted house, making the windows look misaligned or the roof appear slanted unintentionally. Use tweezers for placing small decorative elements like bats or pumpkins, as fingers can leave oils or smudges on the paper that become obvious once the lighting is applied.
Making the Right Choice for Your Project
Whether you are a beginner looking for a fun weekend project or a professional creating inventory for a holiday market, evaluating your resources before starting is key. Ask yourself: Do I have a frame deep enough for this design? Do I understand how to manipulate the SVG layers in my software? Is my color palette cohesive? A cute Halloween haunted house design relies heavily on color contrast; using shades that are too similar can cause the layers to blend together visually, negating the 3D effect.
Consider starting with a simpler design that has fewer layers to master the spacing technique before tackling a complex scene with ten or more tiers. Remember, the goal is to create a sense of depth and wonder, not just to stack paper. By paying attention to material weight, varying your spacer heights, respecting the file formats, and taking care during assembly, you can transform a digital file into a tangible piece of art. The result is a captivating decoration that captures the spooky yet charming spirit of the season, proving that with the right preparation, a Layered Shadow Box Halloween project is well within reach for creators of all skill levels.